Video Projects
Studio Visits: How to Reupholster a Chair
Here at Kastor and Props we accumulate a lot of things. One of our favourite things to collect is chairs! Big one, small ones, and questionable ones. Bun trades, IKEA runs and sometimes just off of the street. A lot of them could use some TLC. When you see a chair that has potential don’t let it go to waste! Reupholstering can see daunting especially when most tutorial videos are 20 minutes long. However it’s easy peasy and we are here to show you how!
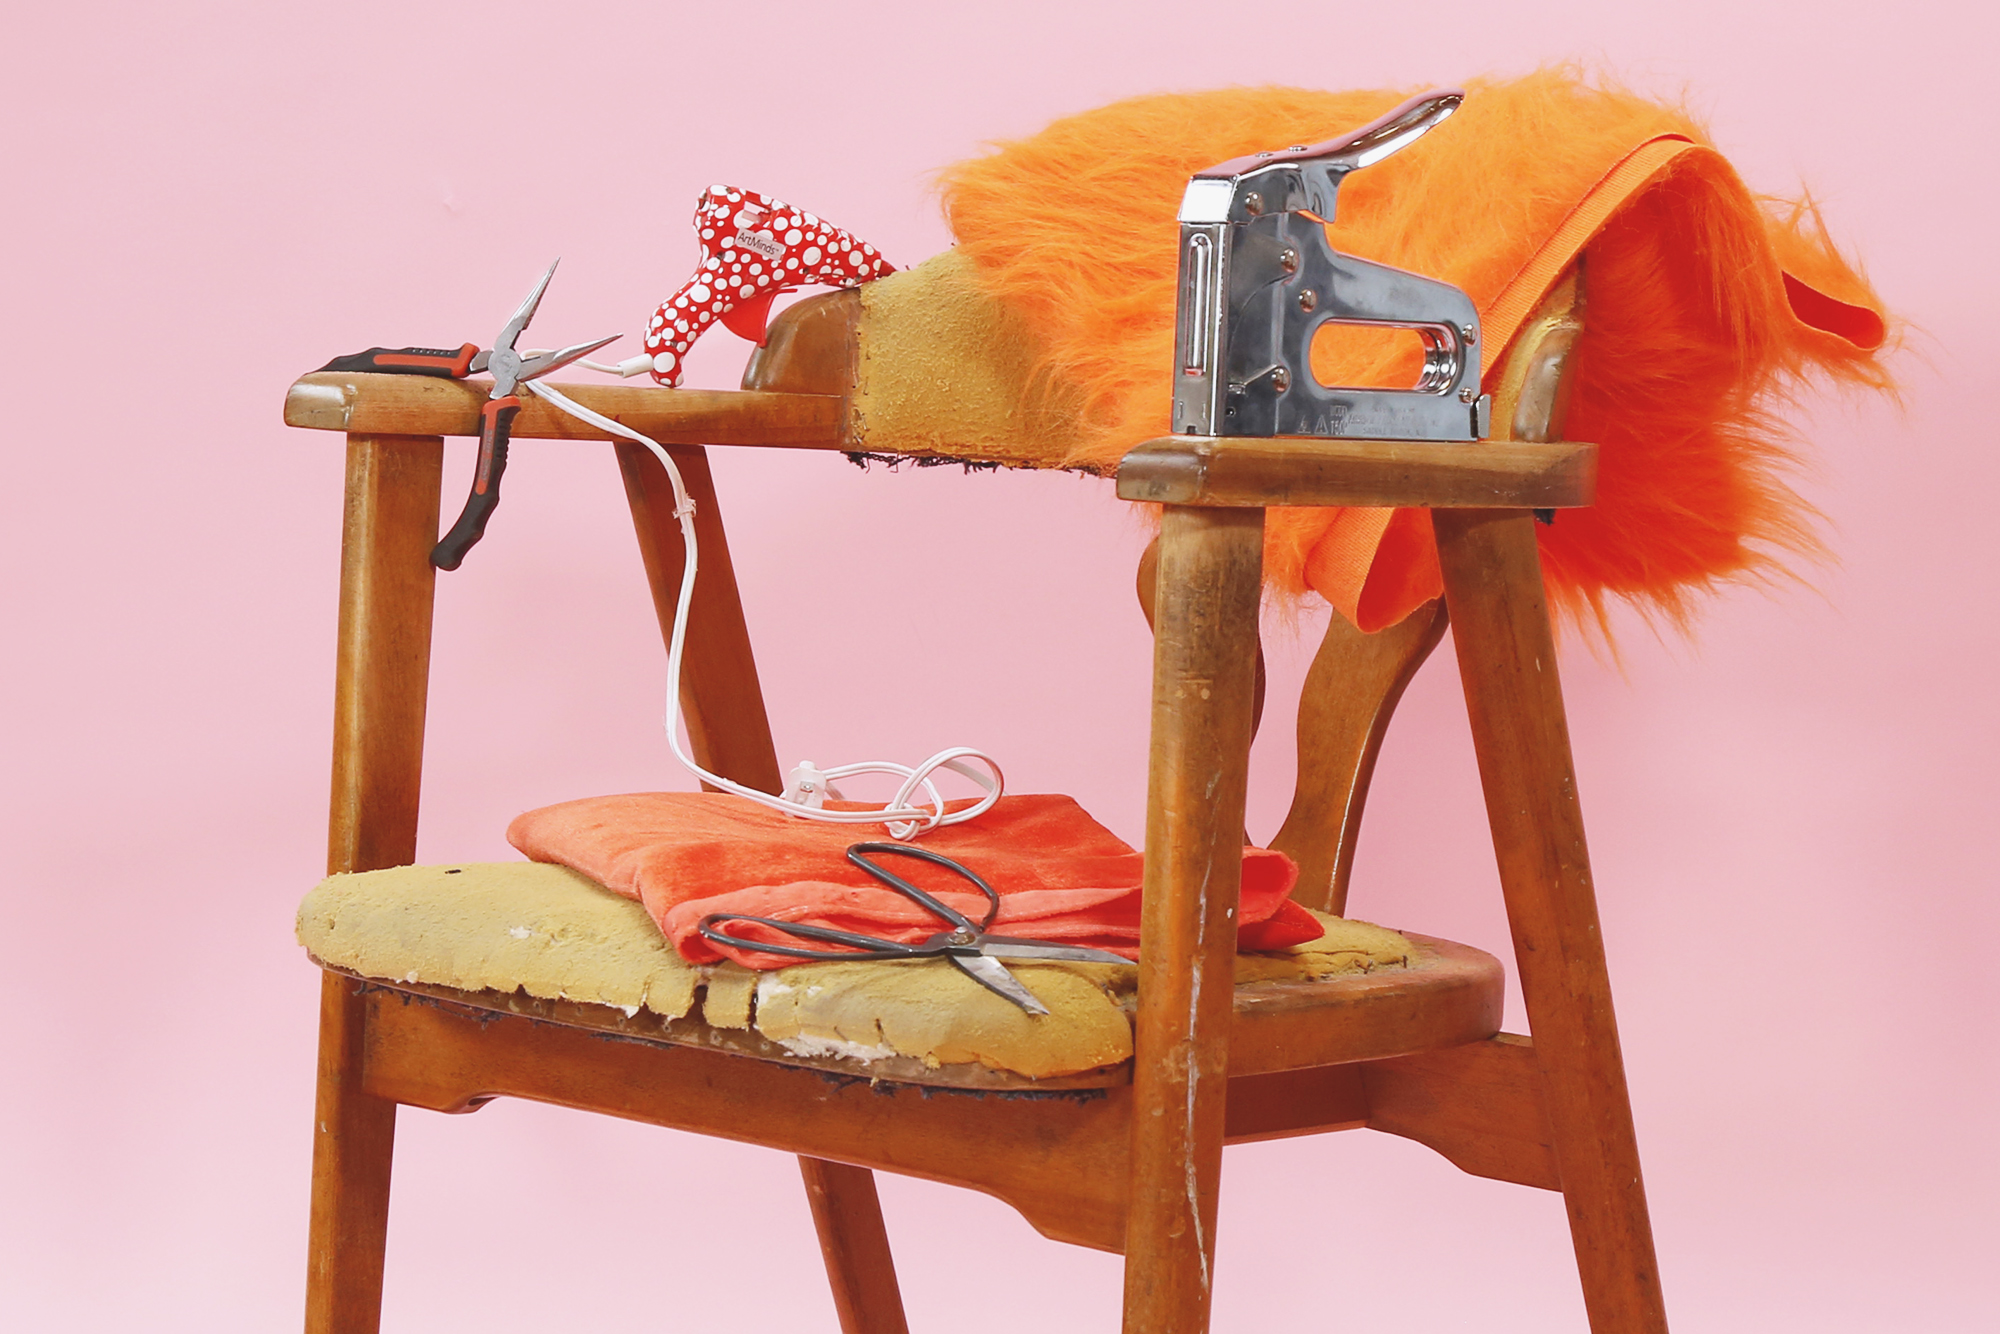
First
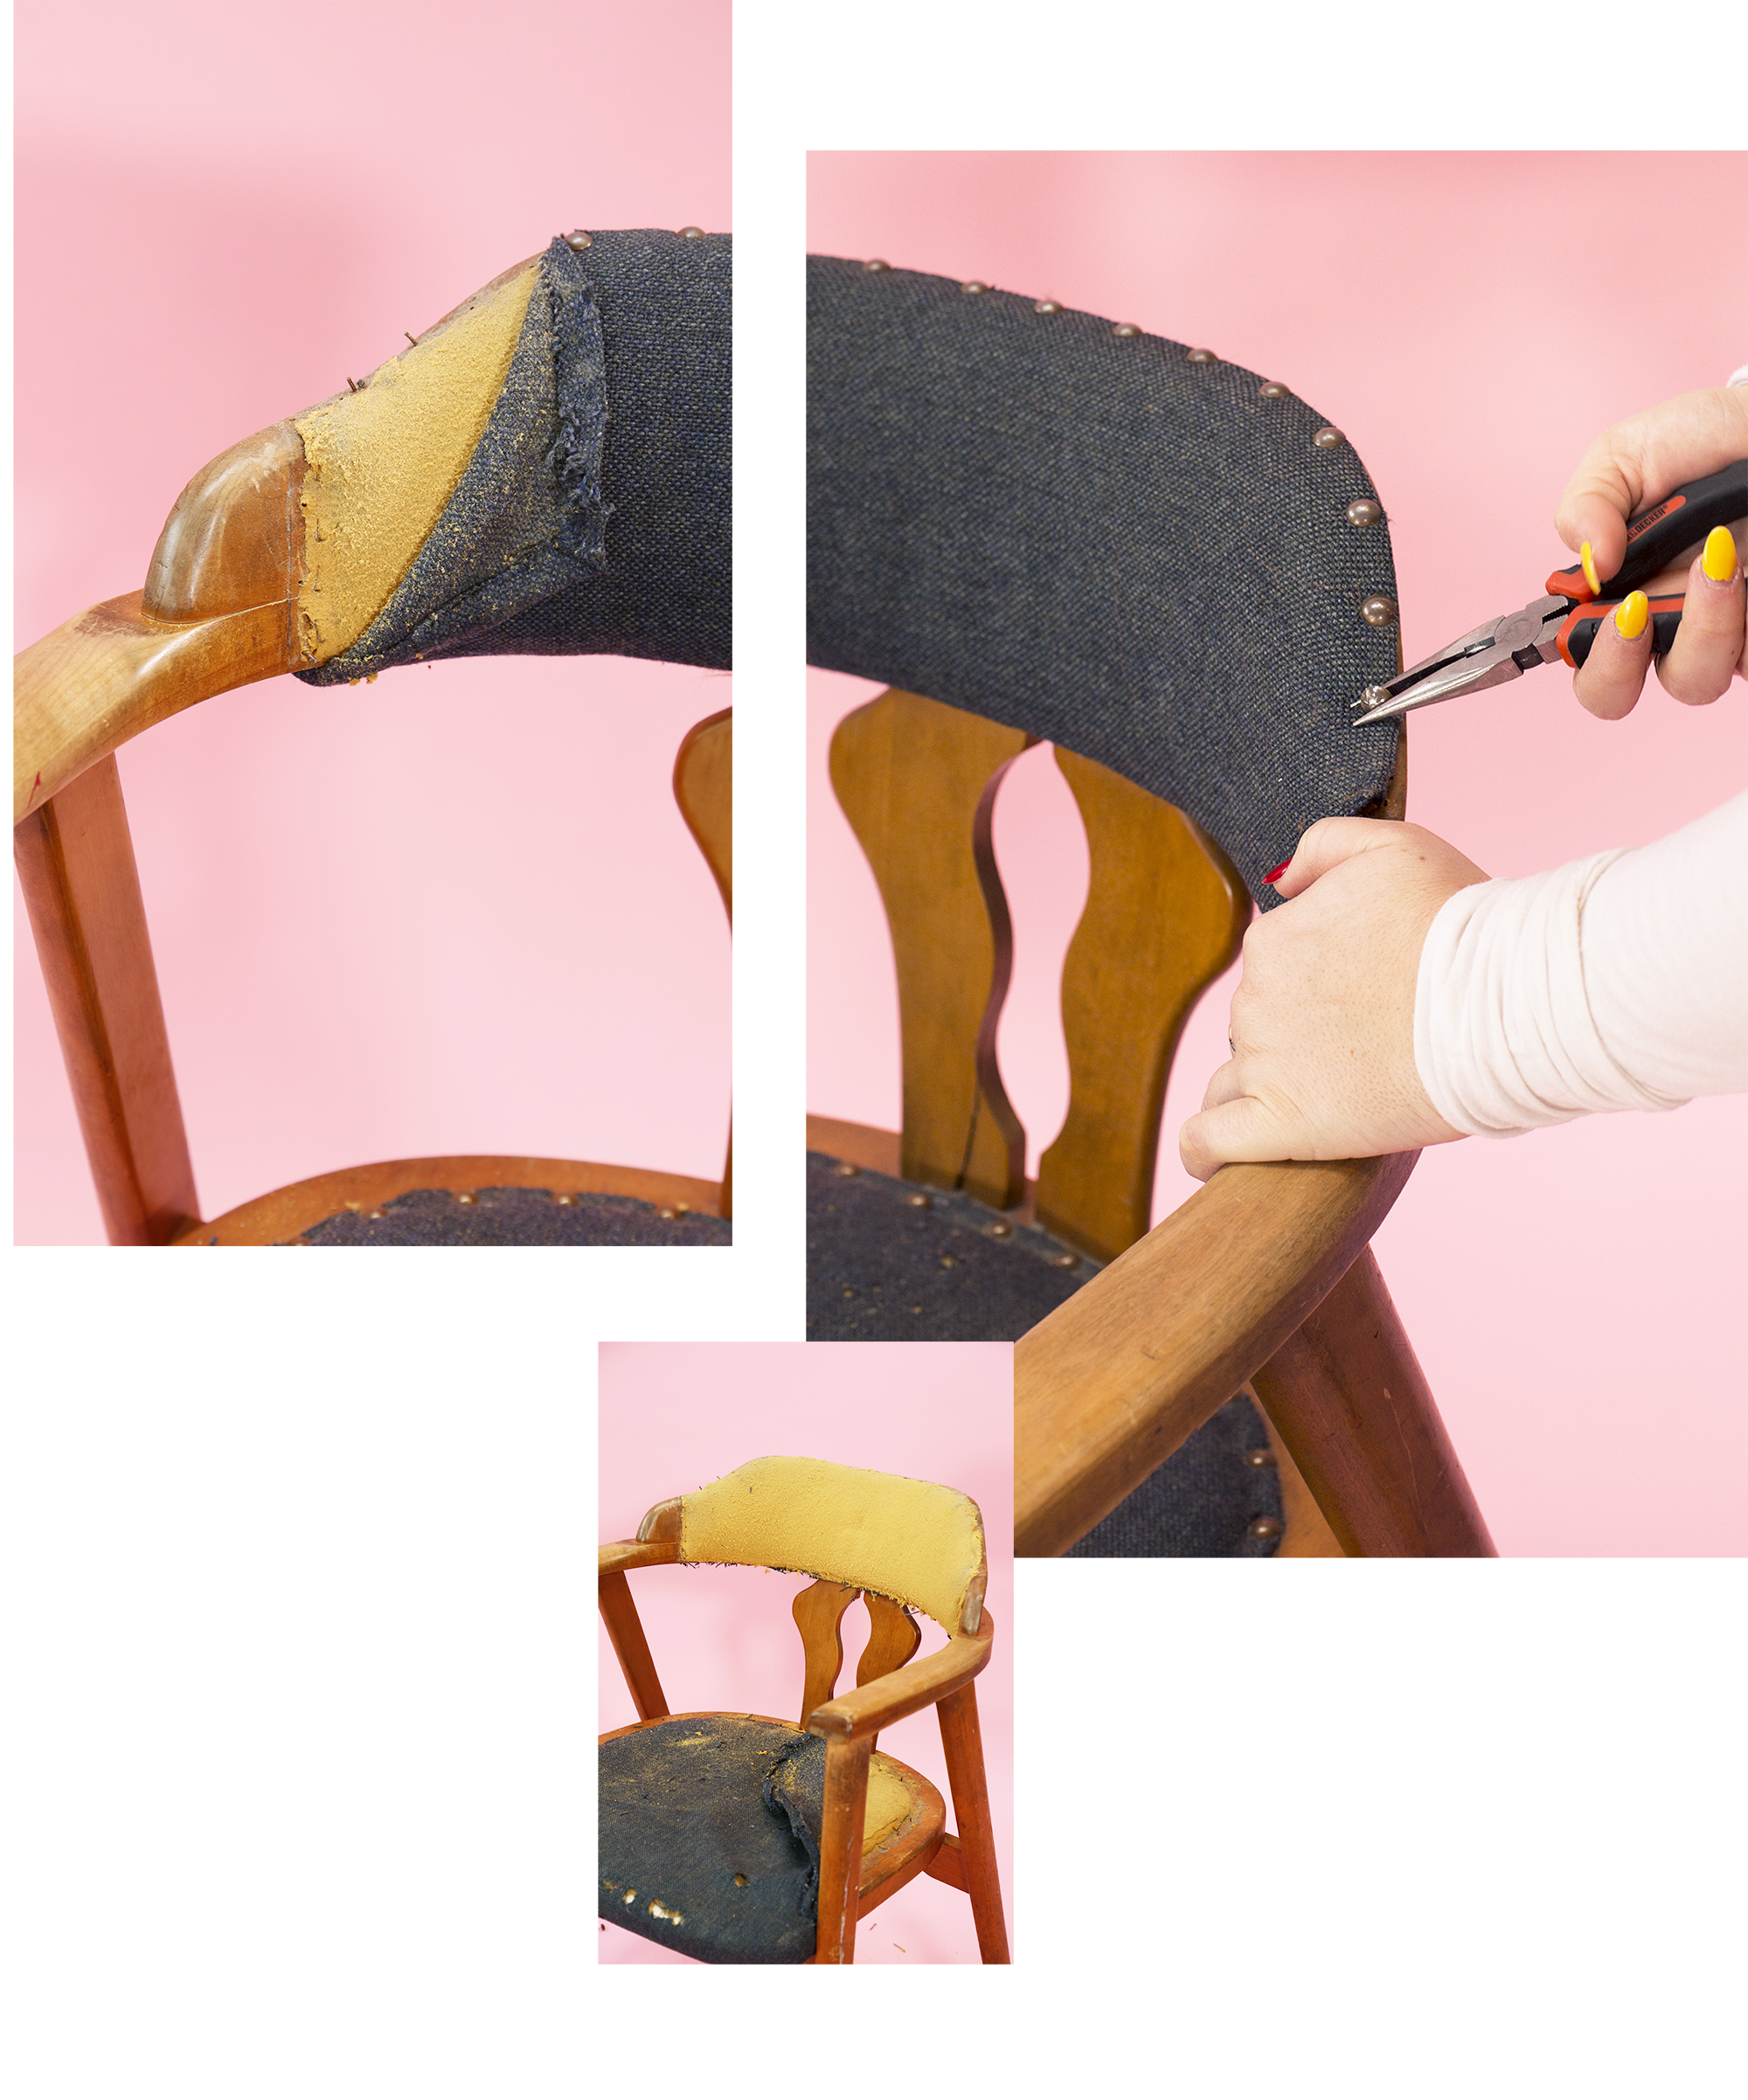
Grab your supplies! You will need: A chair worth saving, pliers, scissors, a glue gun, a staple gun, fabric you love and some kind of trim. You will need to remove the old fabric and it’s nails or staples using your pliers. This is the toughest and longest part! If you’re not exhausted after this the rest will be a breeze.
Second
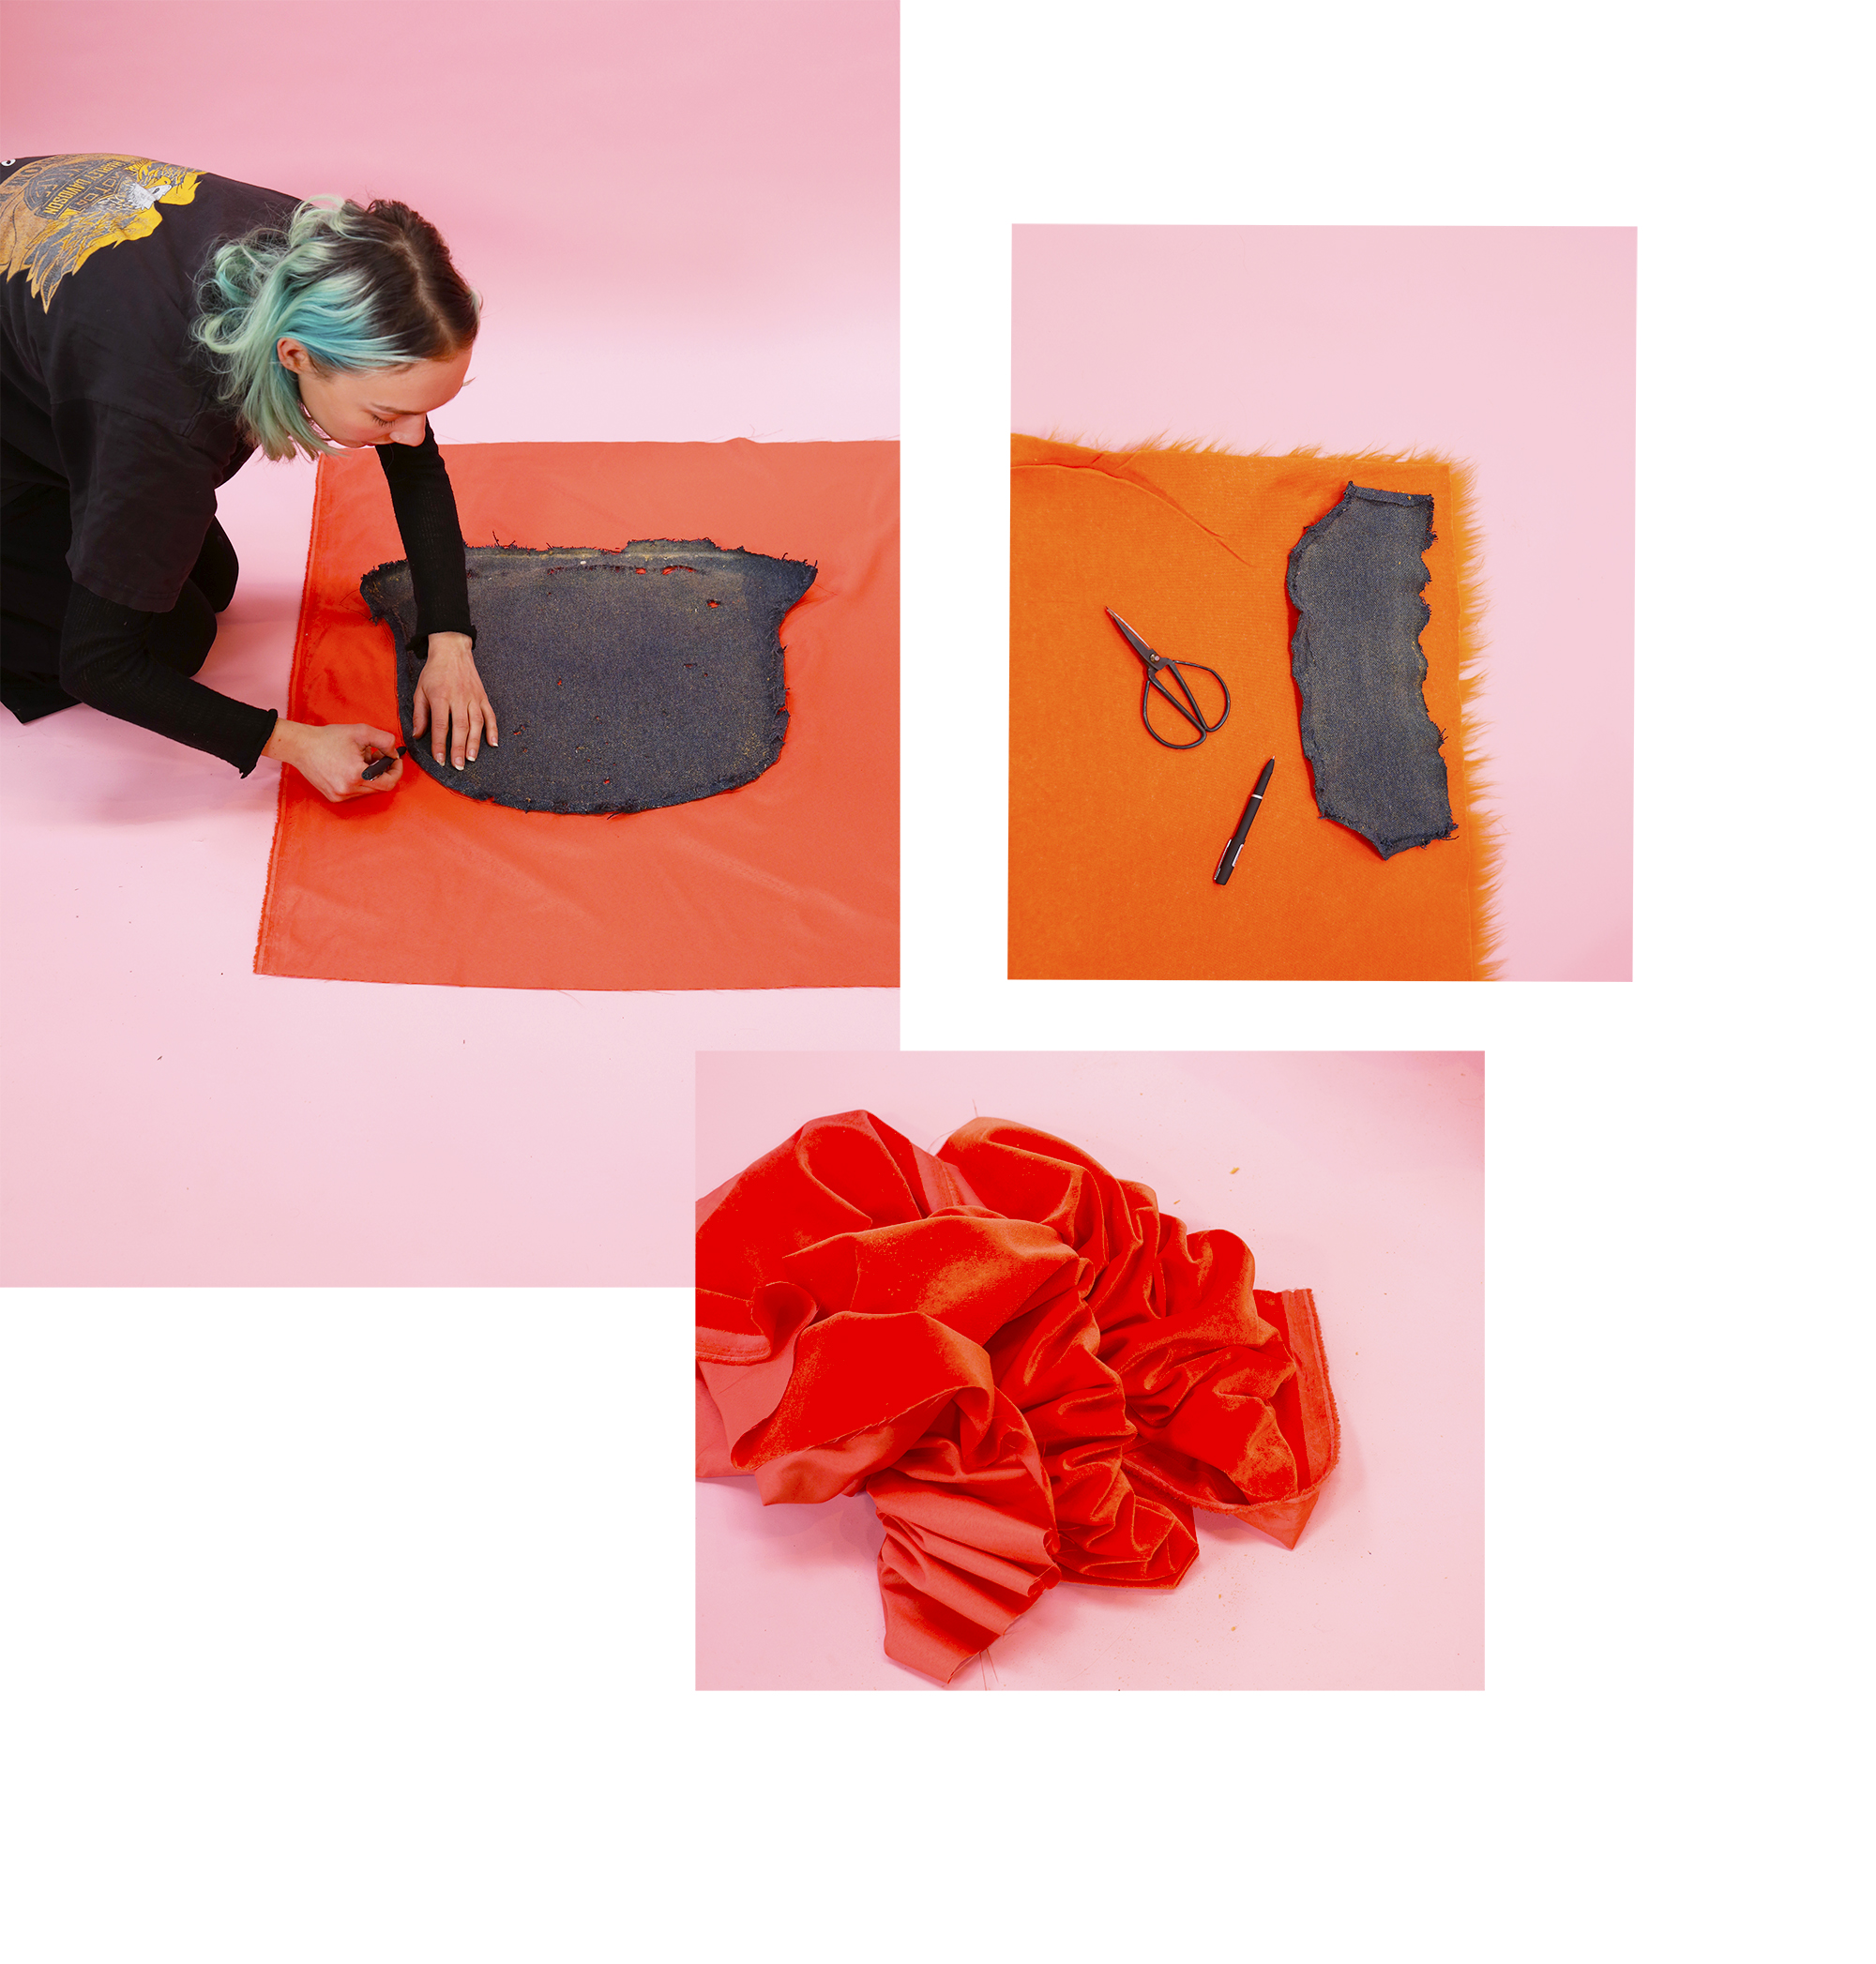
Using the old fabric as a template, trace around it leaving some wiggle room. I honestly was oblivious to how rough this chair was until I took the fabric off and saw how many holes were in it LOL. We got a yard of fabric for the bottom and a 1/2 yard for the top. Which was way more than we needed but we knew we’d repurpose this fabric for something else. We both have a hard time with commitment so we couldn’t choose just one fabric heh. Furry for the top and velvety for the bottom.
Lastly
If you don’t need to replace the cushioning you can go straight to stapling on your new fabric of choice. It can get tiring to use a manual staple gun, most tutorials I watched used air pressured ones. Luckily our fabric is furry and we were able to use the fur to hide the staples! If you have extra fabric around the edges trim it off, you don’t need to worry about being too neat, your trimming will save you! To make the edges look more polished ‘n profesh you can glue a cord or trim around the edge. Repeat this to the bottom seat and BOOM. You did it!

Voilà!